
Table of Contents
- Logging In
- Admin Dashboard Overview
- Editing Basic Website Information
- Managing Pages
- Editing Basic SEO Information
- Dynamic Blocks
- Adding New Blog Posts
- Editing Existing Blog Posts
- Adding New Career Posts
- Adding New Team Member
- Adding New Projects
- Editing Global Call to Actions
- Special Considerations
Logging In#
Your website content is managed with the content management system CloudCannon. To log in to your admin dashboard, navigate to
https://www.hurckman.com/ic-sec=hurckman-admin
Enter your password and click "Sign In".
Admin Dashboard Overview#
Home#
Home is where you can find your Live URL, a preview of your website, documentation, and a list of recent activity.
Inboxes#
See your form notifications, check spam, resend notification emails and export contacts to a spreadsheet.
Pages#
Here you will find a list of all your website pages. Pages are broken out by their section rather than being one large group.
Data#
Data acts as a database of global information used throughout your website. Data is split between Global Partials, Locations and Site Settings. Global Partials are common blocks used throughout the website such as global Call to Action blocks. Site Settings are general settings like your business name, address, phone number and so on.
Editing Basic Website Information#
Managing Business Info#
- Navigate to Data > Site Settings.
- Here you can edit your business name, address, phone, fax, email and social media links.
- As soon as you make a change, you will see the save button in the top right corner activate. Click "Save" to publish your changes to the website, or continue to other pages that you need to edit. Alternatively, your changes will be bulk saved and you can publish all changes together.
Managing Social Media#
- Navigate to Data > Site Settings.
- Your website is preconfigured with options for Facebook, Instagram, X, LinkedIn, TikTok and YouTube.
- Click on the social media platform you want to add a link to and simply paste your page's URL in the link field.
- Click "Save", to publish your change. Alternatively, your changes will be bulk saved and you can publish all changes together. As soon as you add a link to any of these, the appropriate icon will be displayed in the footer of your website.
Managing Pages#
- Navigate to Pages. Here you will see a list of all your website's pages. Select the page you are looking for by clicking on the preview image of the page. You can also open the editor by clicking the three vertical dots in the top right corner and then selecting your options.
- Note: To open the visual editor, if not already open by default, click the three vertical dots and choose, "Open With >" and then select "Visual Editor.” If already in the editor, open the dropdown menu in the top left corner and select visual editor.
- Once the editor is open you will see a similar content structure for all pages. All primary pages will contain a Title, SEO metadata, followed by all content blocks the page uses.
- To edit a content block, click on the content block field, this will open all the fields contained within the block. Once you are done making your changes, click "Save" in the top right corner, or continue to other pages that you need to edit. Your changes will be bulk saved and you can publish all changes together.
Editing Basic SEO Information#
If you ever feel the need to edit SEO metadata for your website, SEO settings can be found on each individual page. Navigate to the page you want to edit and click open the "SEO" content block. Here you will find Page Title, Meta Description, and Featured Image for your page.
Dynamic Blocks#
The employee spotlight, featured projects, blog feed, careers feed and services slider are populated with dynamic content and therefor cannot be previewed in the editor live preview. Placeholder data will be shown in the editor instead.
Adding New Blog Posts#
- To add a new post, select the + Add button at the top right corner of the screen. Then click, + Add A New Blog Post. Optionally, you can also clone and existing post to use as a starting point.
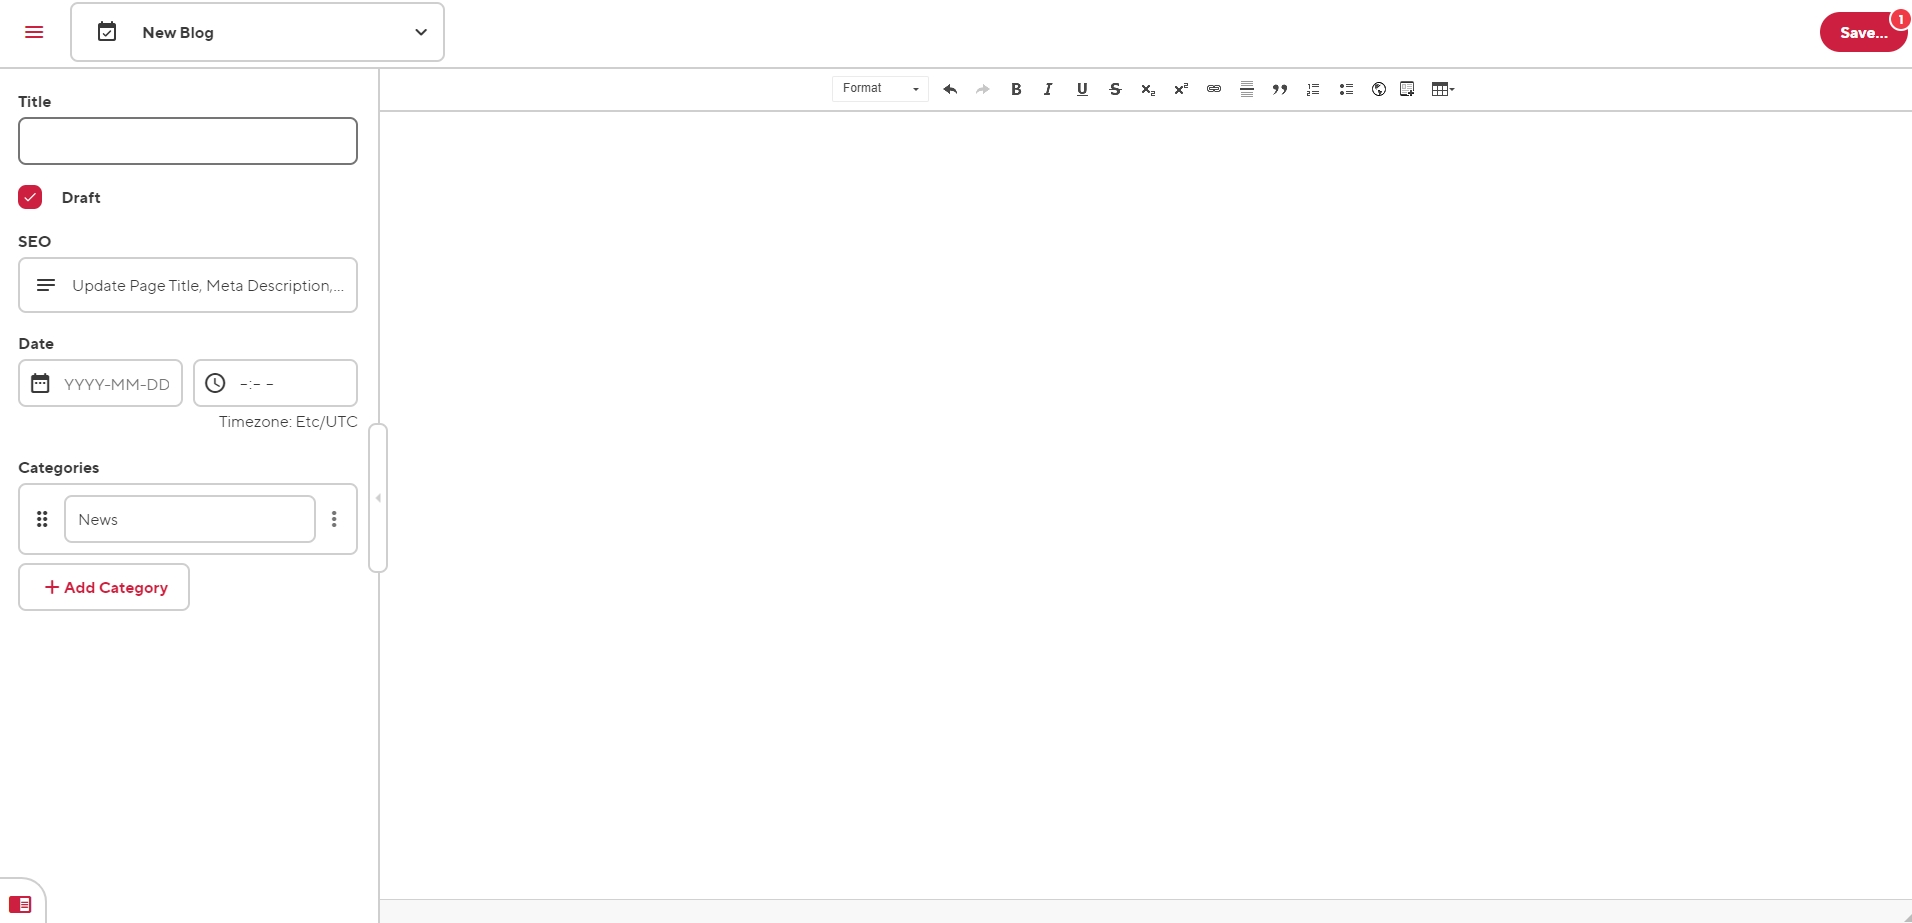
- Once the editor is open you will see a similar content structure as all your pages. The post editor will be split between two main sections, the data editor and the content editor.
- Within the data editor, enter your post title, SEO data like page title, meta description and featured image, date, author and category.
- Note: Your SEO featured image, is used two ways for blog posts. The featured image is used in metadata for social media and search engines, but also as the featured image of the blog post itself. This get's displayed at the top of every post.
- Add post content within the content editor and use the formatting options of the WYSIWYG editor to style your post as you need.
- To add an image to the body of your post click the Snippet button, then select responsive image. Upload or select your new image and add alternative text to describe your image.
- Optionally, add an expert. The experts section is a really easy way to simply select a person from your team as the main contact and a CTA at the end of the post.
- When ready to publish, ensure that your post is switched out of a draft state and click Save.
Editing Existing Blog Posts#
- Navigate to Our News. Here you will see a list of all your website's posts. Select the post you are looking for by clicking on the preview image of the post. You can also open the editor by clicking the three vertical dots in the top right corner and then selecting your options.
- Once the editor is open you will see a similar content structure as all your pages. The post editor will be split between two main sections, the data editor and the content editor.
- To edit your post content within the content editor, use the formatting options of the WYSIWYG editor to style your post as you need.
- When ready to publish, click Save, or continue to other pages that you need to edit. Your changes will be bulk saved and you can publish all changes together.
Adding New Career Posts#
- To add a new post, select the + Add button at the top right corner of the screen. Then click, + Add New Job Post
- Once the editor is open you will see a similar content structure as all your pages. The post editor will be split between two main sections, the data editor and the content editor.
- Within the data editor, enter your post title, SEO data like page title, meta description and featured image, date, author and category.
- Note: Your SEO featured image, is used two ways for blog posts. The featured image is used in metadata for social media and search engines, but also as the featured image of the blog post itself. This get's displayed at the top of every post.
- Be sure to use the location data for each post. Location data is primarily used in schema data and provides more information to search engines. The location data helps with "near me" types of job searches.
- Add post content within the content editor and use the formatting options of the WYSIWYG editor to style your post as you need.
- To add an image to the body of your post click the Snippet button, then select responsive image. Upload or select your new image and add alternative text to describe your image.
- When ready to publish, ensure that your post is switched out of a draft state and click Save.
Adding New Team Member#
- To add a new team page, select the + Add button at the top right corner of the screen. Then click, + Add New Team Member. Optionally, you can also clone and existing post to use as a starting point.
- Once the editor is open you will see a similar content structure as all your pages. The post editor will be split between two main sections, the data editor and the content editor.
- Within the data editor, enter your post title, SEO data like page title, meta description and featured image, weight, job title and more.
- Note: Your SEO featured image, is used two ways for team pages. The featured image is used in metadata for social media and search engines, but also as the featured image of the page itself. This get's displayed at the top of every page.
- Weight is a number used to sort the order of your staff pages. If no weight is manually entered, any new pages will default to the end of the staff list.
- Select Service Areas and Industries from a dropdown list populated by your pages within these sections of your website. This will automatically display and link to these pages on the front-end.
- Share what this person loves about the company and add an employee testimonial.
- Add post content within the content editor and use the formatting options of the WYSIWYG editor to style your post as you need. Since most pages use a component based editing experience, these pages will want to open in the visual editor by default. These pages use a different template and do not use the visual editor. To switch to the content editor navigate to the dropdown menu in the top left corner and select "Content Editor". This will expose the main content body where each bio is managed.
- When ready to publish, ensure that your post is switched out of a draft state and click Save.
Adding New Projects#
- To add a new project, select the + Add button at the top right corner of the screen. Then click, + Add New Project. Optionally, you can also clone and existing post to use as a starting point.
- Once the editor is open you will see a simpler content structure than the rest of your pages. The post editor will contain the data editor.
- Within the data editor, enter your post title, toggle whether or not you want to feature the post, edit SEO data like page title, meta description and featured image and more.
- Optionally add a YouTube video ID if you have a YouTube video to display.
- Feature real words from your customers, add a customer testimonial and let them do the talking for you.
- Select Services and Industries from a dropdown list populated by your pages within these sections of your website. This will automatically display and link to these pages on the front-end.
- Add additional project data like location and project complete date.
- Add Contacts, if you would like to display key contacts from your team who worked on this project. This will automatically display your team cards and link to these pages on the front-end.
- When ready to publish, ensure that your post is switched out of a draft state and click Save.
Editing Global Call to Actions#
- Navigate to Data > Global Blocks. Here you will see a list of Call to Action options for various sections of the website. The messaging changes slightly, but you only need to edit it in one place rather than going through each page manually.
- Edit these just as simply as other pages or components.
Special Considerations#
Image Handling#
All images throughout the website are configured and served through an image transformation service called Cloudinary. Cloudinary automatically handles all images that are uploaded to the website, resizes them and transforms them into modern image formats like AVIF and WEBP.
Uploading Images#
Important!
You will never need to upload a full-resolution image to your website. Images are the most resource-intensive form of media that your website will load. Loading full-size images will negatively affect the performance of your website and will hurt your search rankings. If you're unsure how to handle images for the web, please reach out to Insight Creative, Inc. for assistance.
To optimize an image: make sure to primarily use .jpg image files. .png files save a lot more image data and can easily make an identical image four times the file size of a .jpg. If you are using an image editor like Photoshop, you will have image options when you save. Save as the lowest quality you can before your image starts to look bad (usually 80% quality). You should almost always shoot for under 300kb file size for all images you load to the website. When done right, it’s rare that the loss of image quality will be noticeable.
After you save your image, the front end of the website will automatically optimize and transform your image into a more modern and performant image. This ensures your images are loading as fast as possible.
Bulk Saving of Edits#
You can now take advantage of CloudCannon's bulk saving of edits. Make multiple edits across pages, files, and collections and save them all simultaneously in a single batch. CloudCannon records your edits as you go, allowing you to save them all in one click. This means you only need to wait for your site to build once.