Table of Contents
- Logging In
- Adding a New Customer Portal
- Editing Customer Portal Content
- Adding a Password
- Adding a Custom Domain
- Removing a Custom Domain
Logging In#
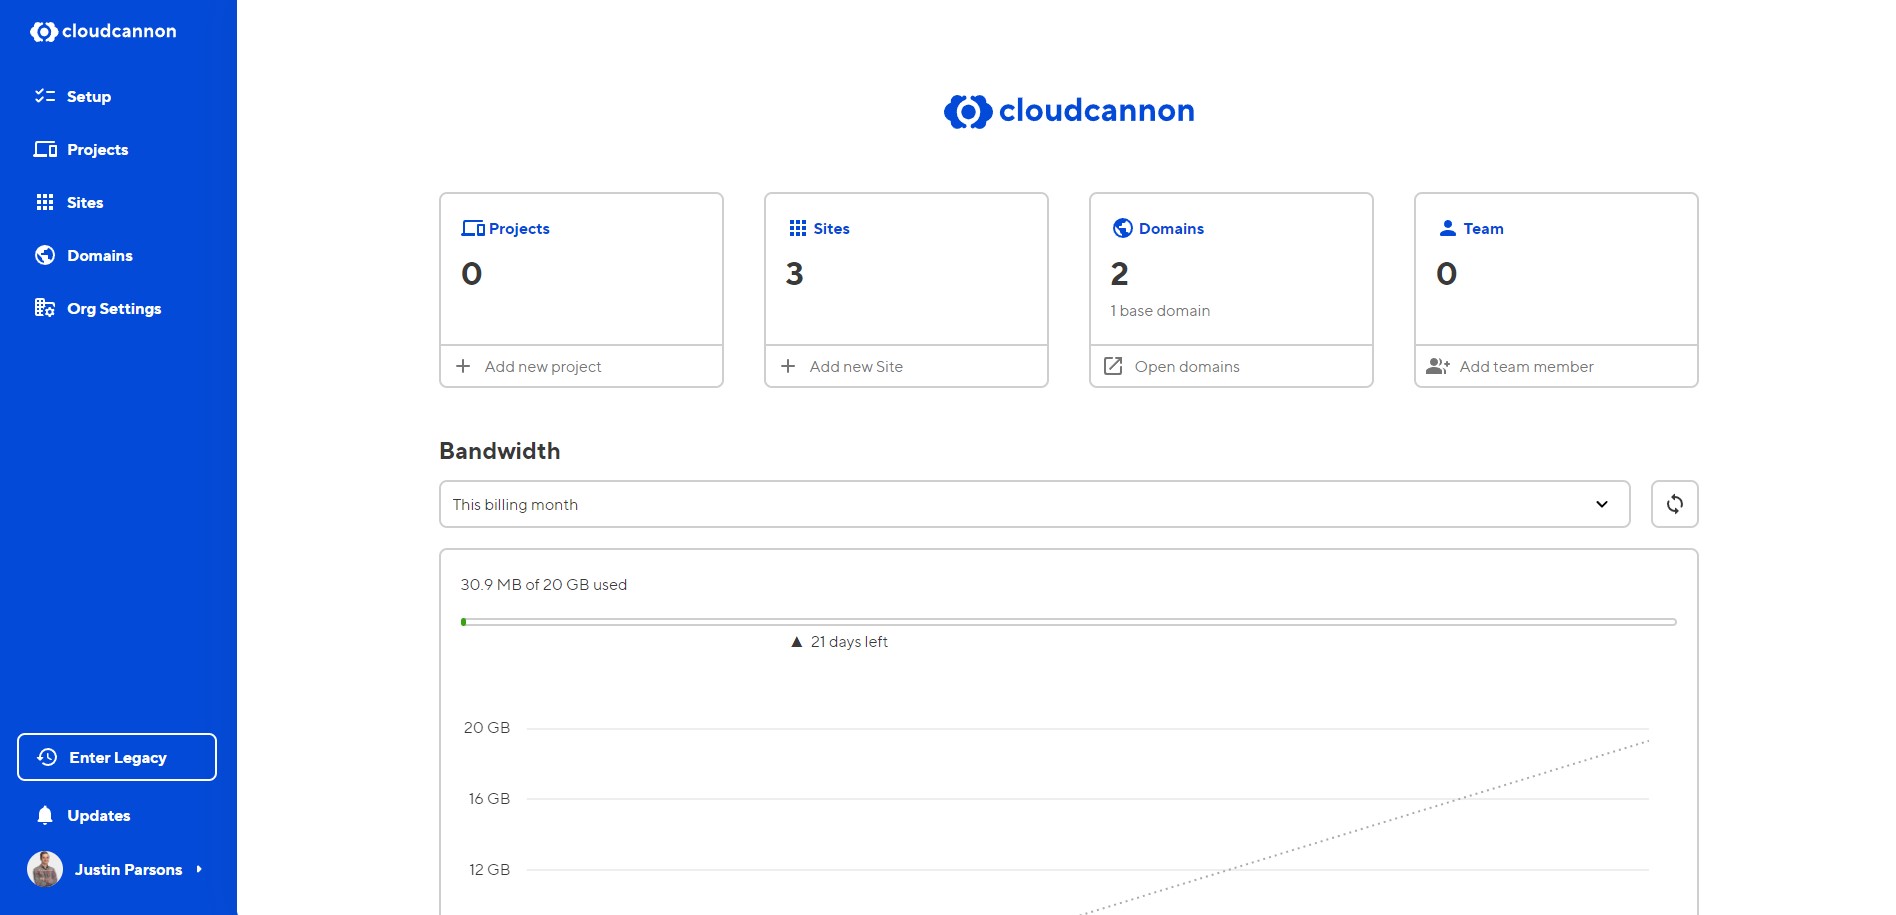
Your customer portal content is managed with the content management system CloudCannon. To log in to your admin dashboard, navigate to
Enter your username and password and click "Sign In".
Adding a New Customer Portal#
- Click "Add new Site"
- Select "Build with your own files"
- Site name: Enter your customer name as the name of your new site
- File source: Navigate to the "File source" dropdown menu and select GitHub repository.
- Repository: From the Repository dropdown select "Keynecta/client-portal.keynecta.com"
- Branch setup: Choose "Create a new branch"
- Source branch: From the "Source branch" dropdown, select "main". This allows you to create a copy of the base template for your new customer portal.
- New branch name: use your customer name as your branch name. You will probably never need this again, but this will help organize the source code within the repository.
- Click "Sync Files"
- Build options: you don't need to worry about anything here, just click "Build site" to complete
Editing Customer Portal Content#
- From the main dashboard, click "Update home". Alternatively, click "Pages", then click "Home"
- By default, the customer portal starter template will contain two content blocks, a hero section and content cards. Click on either to open the details of that block.
- Each field will be slightly different depending on the content type. Heading fields are a simple text input, body fields use a full WYSIWYG editor with more advanced controls and the ability to use bold, italics, lists and more.
- When satisfied with your changes, click "Save" in the top right corner
Adding a Password#
- Navigate to Site Settings > Authentication
- Authenticaion: From the dropdown switch from the default of "None" to "Password"
- Click "Switch to Password Authentication"
- Site Password: Enter in your password of choice
- Click "Update Site Password"
Adding a Custom Domain#
- Navigate to Site Settings > Custom Domain
- Choose your hosting option: Leave at the defaul of "Add new custom domain"
- Domain Name: Enter in your custom domain in the format of customer-name.keynecta.com
- Click "Add Domain"
- You will be prompted with a "Confirm Billing Change", select "Accept Billing Increase"
- That's it! Things like the SSL certificate will automatically install. It will take a few minutes to get set up.
Removing a Custom Domain#
- Navigate to Site Settings > Custom Domain
- Click "Remove"
- Remove "Remove Custom Domain"
- Click "Click to confirm"
