Table of Contents
- Logging In
- Admin Dashboard Overview
- Editing Basic Website Information
- Managing Pages
- Content Blocks
- Editing Basic SEO Information
- Special Considerations
Logging In#
Your website content is managed with the content management system CloudCannon. To log in to your admin dashboard, navigate to
https://sas-rail.com/ic-sec-sas-rail-admin
Enter your password and click "Sign In".
Admin Dashboard Overview#
Home#
Home is where you can find your Live URL, a preview of your website and a list of recent activity. Click "Update home" to start editing your website.
Pages#
Here you will find a list of all your website pages.
Data#
Note: Not much of this is currently used on this website.
Data acts as a database of global information used throughout your website. Site Settings are general settings like your business name, address, phone number and so on.
Editing Basic Website Information#
Managing Business Info#
- Navigate to Data > Site Settings.
- Here you can edit your business name, address, phone, fax, email and social media links.
- As soon as you make a change, you will see the save button in the top right corner activate. Click "Save" to publish your changes to the website, or continue to other pages that you need to edit. Your changes will be bulk saved and you can publish all changes together.
Managing Social Media#
Note: This is not currently used on this website.
- Navigate to Data > Site Settings.
- Your website is preconfigured with options for Facebook, Instagram, Twitter, LinkedIn, and YouTube.
- Click on the social media platform you want to add a link to and simply paste your page's URL in the link field.
- Click "Save", to publish your change. As soon as you add a link to any of these, the appropriate icon will be displayed in the footer of your website.
Managing Pages#
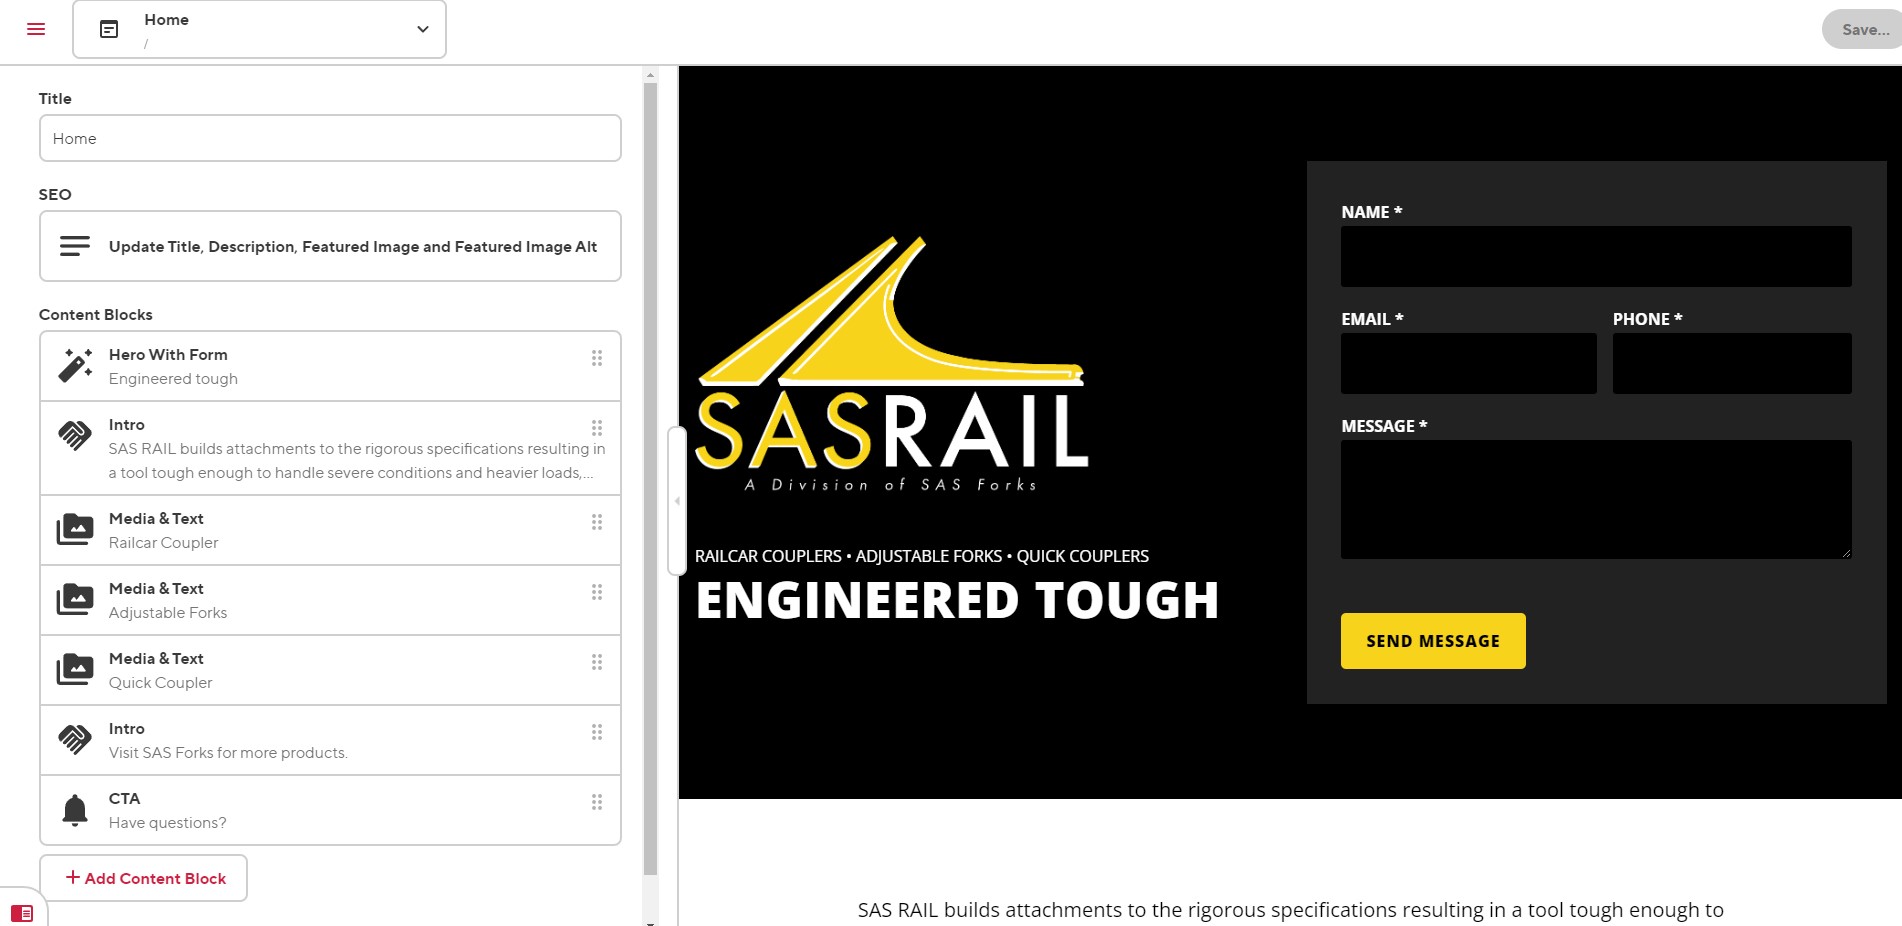
- Navigate to Pages. Here you will see a list of all your website's pages. Select the page you are looking for by clicking on the preview image of the page. You can also open the editor by clicking the three vertical dots in the top right corner and then selecting your options.
- Note: To open the visual editor, if not already open by default, click the three vertical dots and choose, "Open With >" and then select "Visual Editor.” If already in the editor, open the dropdown menu in the top left corner and select visual editor.
- Once the editor is open you will see a similar content structure for all pages. All primary pages will contain a Title, SEO, followed by all content blocks the page uses. Each content block gives a brief overview of what is contained within it.
- To edit a content block, click on the content block field, this will open all the fields contained within the block. Once you are done making your changes, click "Save" in the top right corner, or continue to other pages that you need to edit. Your changes will be bulk saved and you can publish all changes together.
Content Blocks#
Your website currently contains the following blocks:
Columns#
Flexible columns that allow you to add an unlimited number of columns. Best paired with the Content block for general content or the Image Card block.
Content#
Generic content block, best for a heading and body copy pairing within the Columns block.
CTA#
Full-width Call to Action block. Use this to drive people towards the primary action you want them to take on your website.
Hero Simple#
Simple hero block with page heading, subheading and optional button. Use this section to concisely tell your website visitors what you do and what problems you will solve for them.
Hero With Form#
Simple split hero section with a contact form. Use this section to concisely tell your website visitors what you do and what problems you will solve for them.
Image Card#
Simple card with optional image.
Intro#
Simple intro section with section heading, body and button. Best used as a two to three sentence intro to your page content.
Media & Text#
A split column block with image column and text column.
Numbers#
Simple numbers block to showcase stats like years in business, % of money saved by using product etc ...
To add additional content blocks, click the "+ Add Content Block" button underneath the list of existing blocks. Select the block you want to use and add all heading, body, image and button fields etc ... Content blocks can be reordered by clicking and dragging the block to the position of choice. When ready to publish, click Save in the top right corner.
Editing Basic SEO Information#
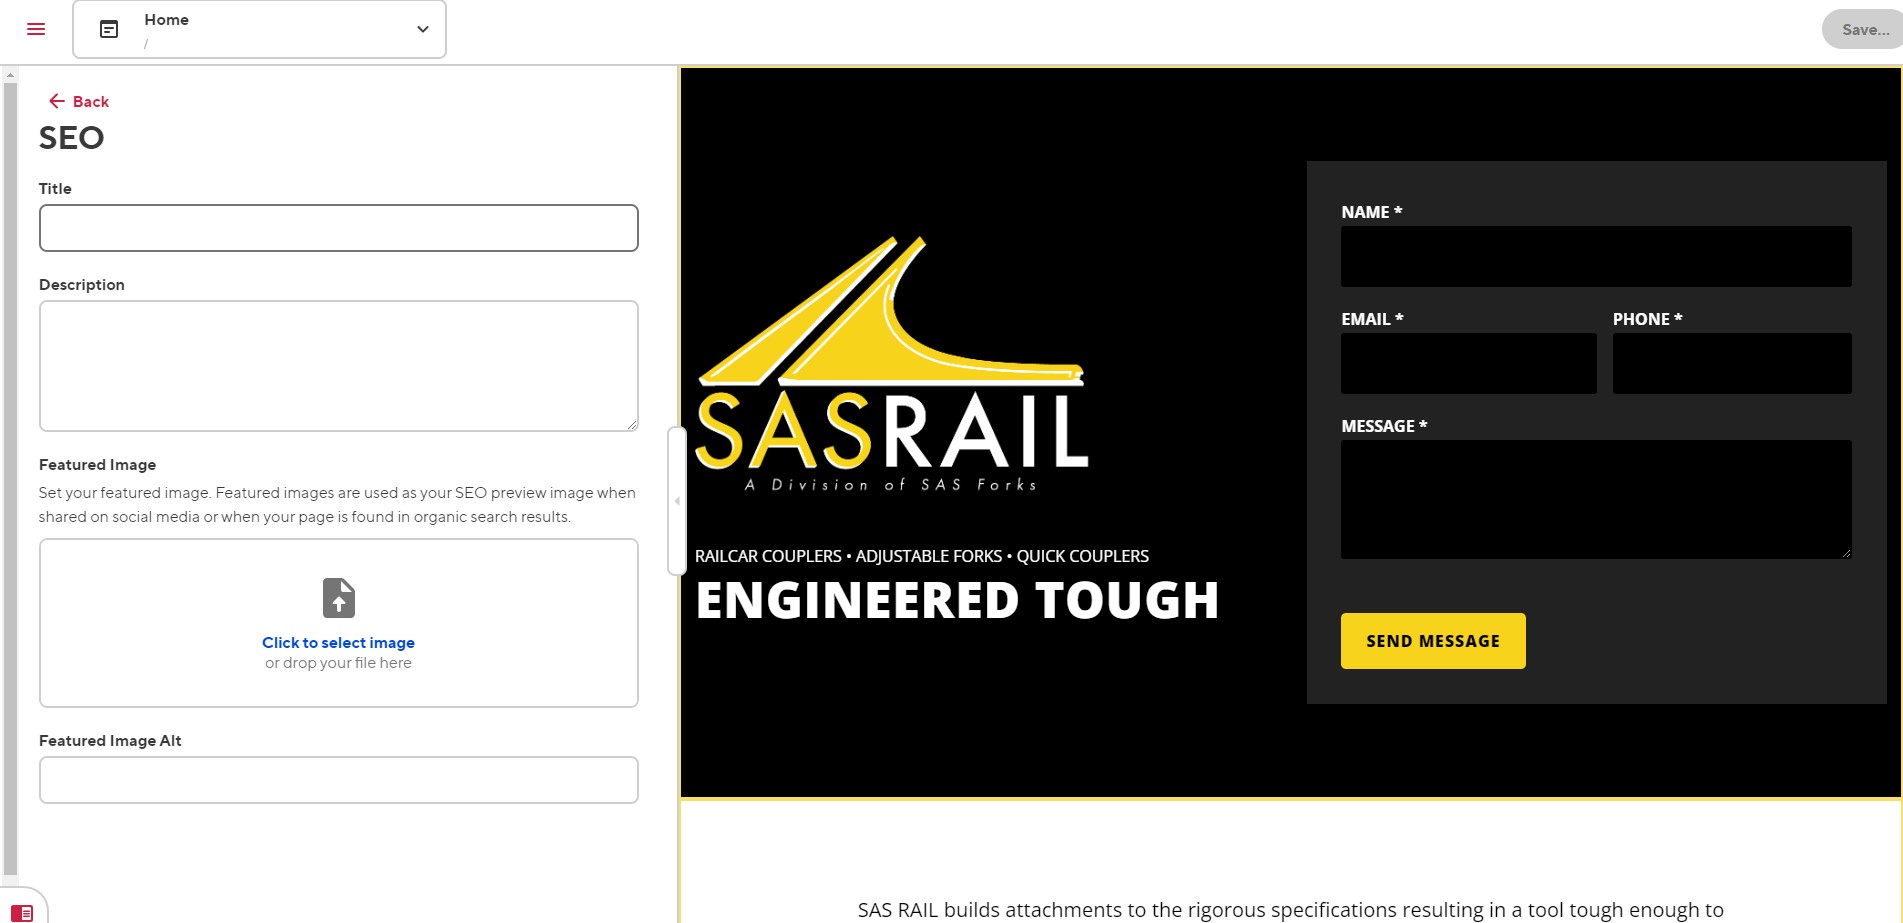
If you ever feel the need to edit SEO metadata for your website, SEO settings can be found on each individual page. Navigate to the page you want to edit and click open the "SEO" content block. Here you will find Page Title, Meta Description, and Featured Image for your page.
Special Considerations#
Uploading Images#
Important!
You will never need to upload a full-resolution image to your website. Images are the most resource-intensive form of media that your website will load. Loading full-size images will negatively affect the performance of your website and will hurt your search rankings. If you're unsure how to handle images for the web, please reach out to Insight Creative, Inc. for assistance.
To optimize an image: make sure to only use .jpg image files. .png files save a lot more image data and can easily make an identical image four times the file size of a .jpg. Use a tool like Squoosh, Photoshop, or similar image editing tool to resize and optimize your images. Save as the lowest quality you can before your image starts to look bad (usually 80% quality). You should almost always shoot for under 200kb file size for all images you load to the website. When done right, it’s rare that the loss of image quality will be noticeable to an untrained eye.
After you save your image, the front end of the website will automatically optimize and transform your image into a more modern and performant image. This ensures your images are loading as fast as possible.
Bulk Saving of Edits#
You can now take advantage of CloudCannon's bulk saving of edits. Make multiple edits across pages, files, and collections and save them all simultaneously in a single batch. CloudCannon records your edits as you go, allowing you to save them all in one click. This means you only need to wait for your site to build once.